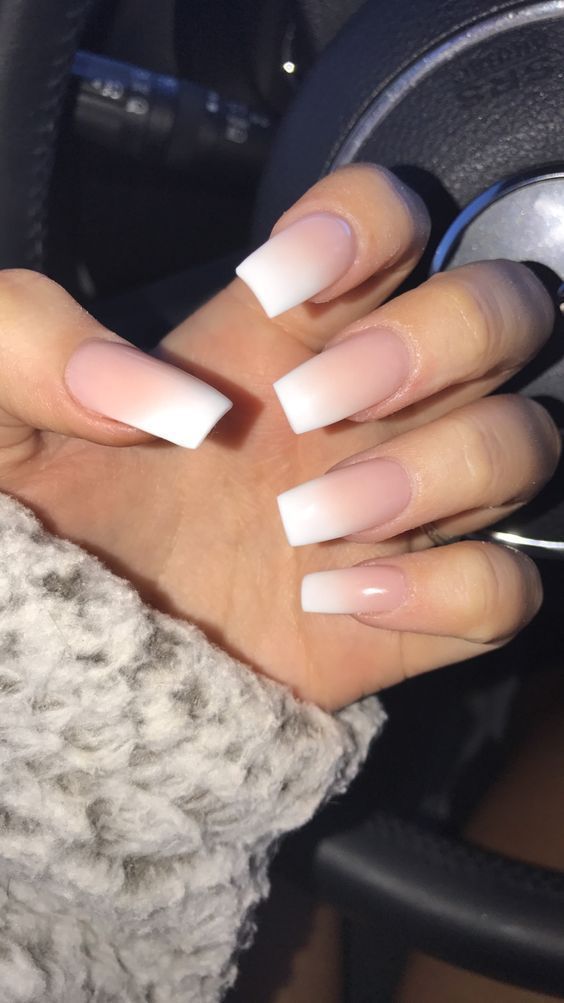
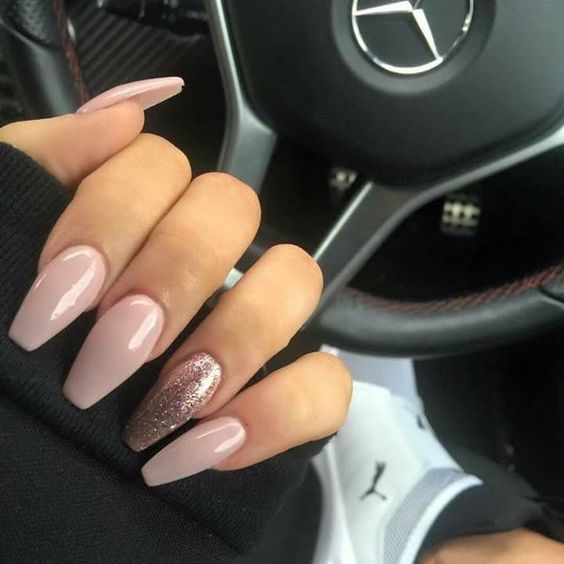
There are few things that make you feel instantly put-together and glamorous as effortlessly as a fresh set of artificial nails. The shiny, carefully shaped perfection of lacquered fake nails adds polished elegance to any look.
via
Making it to a nail salon every other week to maintain a full set of acrylics isn’t always realistic for your schedule or your bank account. It’s easy enough to swipe a coat of nail polish but a layer of polish just doesn’t live up to the glamour of falsies. Applying your own salon-quality fake nails can be tricky, but is possible to DIY at-home fake nails that don’t look sloppy or glaringly artificial.
1. Remove Any Residue

If you have anything on the surface of your nails before you try to put on falsies, the fake nails won’t adhere to your nails securely and will likely pop off soon after you apply them. The first step in preparing your natural nail beds for fake nails is removing any residue from their surfaces.
Use acetone-free nail polish remover to get rid of any polish left behind from an aging manicure. Even if you don’t have on any nail polish, swipe the nail polish remover over the surface of your nails anyway. The formula will remove any traces of hand lotion or natural oils, both of which can make nail glue less effective.
2. Buff the Right Way
The natural shine and ridged surface of your nails works against fake nails and makes it more difficult for them to stay stuck over your natural nail beds. If you want your DIY fake nails to last as long as possible, it’s important to buff your nail beds before applying them.
There are ways to buff your nails to minimize damage to your nail beds. Always buff with a nail buffing tool, not a file. Nail files can effectively buff your nails, but they are much harsher on your nail beds than is necessary. Using light, even strokes, buff each of your nails in all directions. Your goal is to remove just the top layer of your natural nails without inflicting lasting damage deeper in your nail beds.
3. Choose the Perfect Fit
Fake nails come in many different sizes, but natural fingernails come in just as many, if not more. Pay close attention to the sizes of the fake nails you’re using before you adhere them to your nail beds. If you just pick a random nail size, you’ll likely end up with fake nails that don’t fit properly and end up looking awkward and sloppy.
To determine which size fake nails fit your natural nails most closely, hold each plastic nail up to the surface of your natural nails. If necessary, file or clip the edges of the fake nails slightly before applying them. To get the most natural look, the bottom edge of your fake nails should rest right below the white part of your nail beds, not at the base of your natural nails.
4. File and Shape
No matter how closely they fit your natural nail beds, fake nails still need to be filed and shaped after you apply them. Always wait for the glue under your falsies to dry completely before you start filing to avoid loosening or chipping it.
Start by filing the top edge of your fake nails until you’ve achieved your desired shape and length. Then, carefully file around the sides and bottom edges of the nails until they are even and smooth and don’t overlap the edges of your natural nails. Finally, smooth the transition between your fake and natural nails by gently going over the entire surface of your nails with a buffing tool.
5. Use Real Acrylic
When you apply fake nails at home, you don’t have to coat them with real acrylic. However, if you want your at-home falsies to be just as functional and last just as long as an acrylic set from a salon, a layer of acrylic is necessary to add durability to your fake nails.
Visit a local beauty supply store to purchase monomer liquid and acrylic powder and pour the liquid and powder into two separate bowls. Dip a small paintbrush or eye makeup brush into the monomer, then into the powder. Apply the acrylic mixture over plastic nail forms using very thin, even strokes. Keeping the layers of acrylic thin helps you achieve a smooth finish without clumps or bumps. Carefully press the filled nail forms to your nail beds and the acrylic dry completely before peeling away the plastic forms. File away any excess acrylic material and buff to smooth.
6. Repair Regularly
It is much easier and more convenient to repair your fake nails while they are still adhered to your nail beds than it is to replace plastic nails that fall off with brand new ones. Inspect your fake nails daily for any chipping glue.
When you notice your fake nails feeling loose, use a thin paintbrush or makeup brush to slip extra glue under their sides and top and bottom edges. If too much glue has chipped away to repair, remove the entire nail. Use nail polish remover to get rid of glue residue from the surface of your nails and the underside of your fake nail. Re-adhere the same nail using a fresh layer of glue.
7. Keep Them Temporary
If you want fake nails only to wear to a specific event, you can apply at-home falsies that are completely temporary and don’t inflict any damage on your nails.
Instead of using nail glue, apply double-sided fashion tape to the underside of your fake nails to adhere them to your natural nail beds. If you’re using tape to stick on your falsies, shape and file your plastic nails before applying them to minimize the risk of them falling off as you file. Wait until right before your event before applying fake nails using fashion tape. Fashion tape only works as an effective adherent for a few hours.
Stop spending your precious time and money on overpriced visits to the nail salon that drag on for an hour or more. Use the tips in this post to learn how to DIY your own salon-quality nails from the comfort of your own home.
Achieving salon-quality nails at home is not only a fabulous way to elevate your look but also a fun self-care activity. To ensure your DIY manicure stands the test of time and looks impeccably chic, consider these additional tips:
1. Prioritize Nail Health
Healthy nails are the foundation of a stunning manicure. Regularly moisturize your cuticles with nourishing oils to prevent dryness and peeling. Incorporate a nail strengthener into your routine to fortify your natural nails, providing a sturdy base for your faux nails.
2. Opt for Quality Products
Investing in high-quality nail products can make a significant difference in the longevity and appearance of your manicure. Brands like Kiss offer DIY nail kits that have been praised for their durability and professional finish. These kits often come with all the essentials, making the application process seamless.
3. Master the Application Technique
The way you apply your fake nails greatly influences their durability:
Glue Application: Apply a thin, even layer of nail glue to both your natural nail and the underside of the fake nail. This dual application ensures a secure bond.
Press and Hold: After positioning the fake nail just above your cuticle, press it down firmly onto your natural nail, holding it in place for at least 30 seconds to eliminate air bubbles and ensure a strong adhesion.
4. Customize for a Natural Look
Tailoring your fake nails to suit your personal style enhances their natural appearance:
Shape and Length: Use a nail file to adjust the length and shape of the fake nails, ensuring they complement your finger shape and daily activities.
Polish and Design: While many fake nails come pre-polished, adding a layer of your favorite nail polish or nail art can personalize your manicure, making it uniquely yours.
5. Practice Proper Maintenance
Maintaining your manicure prolongs its lifespan and keeps it looking fresh:
Protective Measures: Wear gloves during household chores, especially when using cleaning agents, to shield your nails from harsh chemicals and excessive moisture.
Gentle Handling: Be mindful of your nails during daily activities. Avoid using them as tools to open packages or lids, as this can cause them to lift or break.
By incorporating these practices into your nail care routine, you can enjoy a flawless, long-lasting manicure that rivals professional salon results. Embrace the process, experiment with styles, and let your nails be an extension of your personal flair.