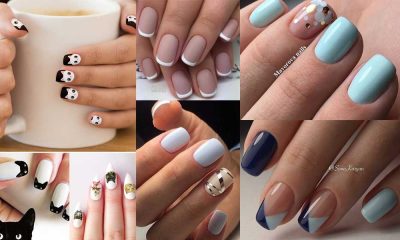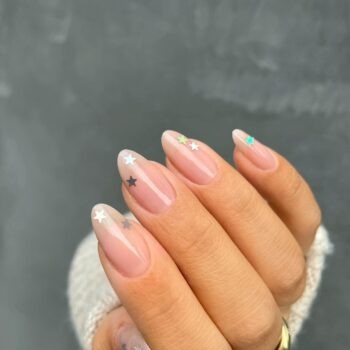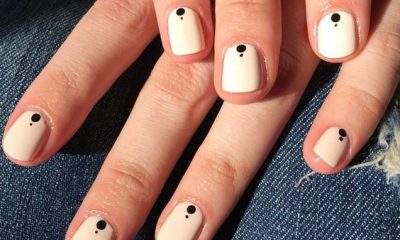
Nailing the perfect manicure at home can feel like an impossible task, but with a few clever tricks, you can achieve a flawless, salon-quality look without stepping out your front door. Whether you’re tired of smudges, struggling with chips, or simply looking to up your nail art game, these easy DIY hacks are here to save the day. From using everyday household items to genius quick-drying techniques, these tips will help you transform your at-home mani into a professional masterpiece. Get ready to master your nail game and turn your next DIY session into a true work of art—no pro skills required!
Nail Polish Hack #1: Use Petroleum Jelly for Mess-Free Nails
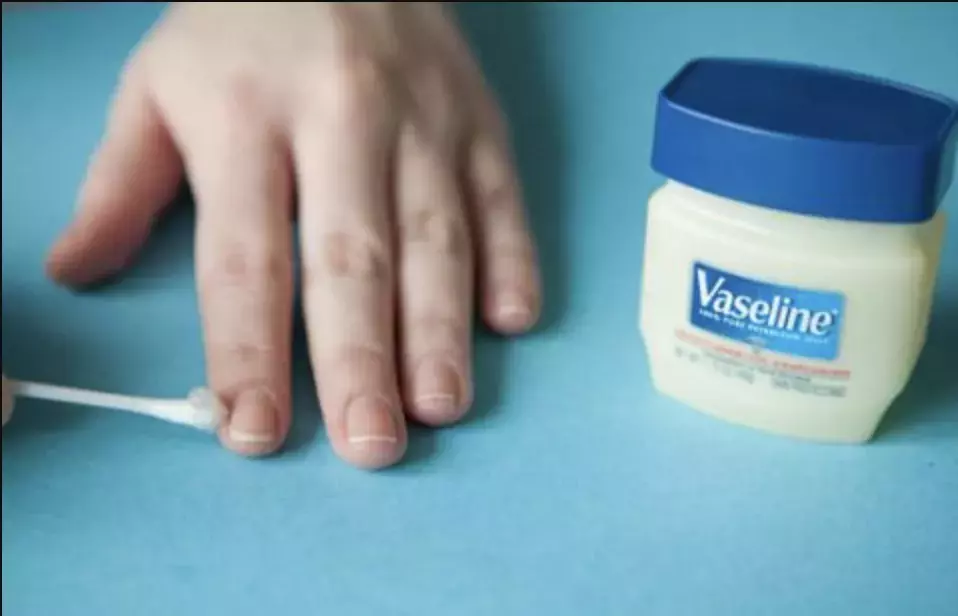
Getting a flawless, smudge-free manicure is easier than you think! Apply a thin layer of petroleum jelly around your cuticles and nail edges using a cotton swab. This creates a barrier, preventing polish from getting on your skin. Once your nails are dry, simply wipe away the petroleum jelly, along with any stray polish marks.
Nail Polish Hack #2: Double Up on Base Coat for Stronger Tips
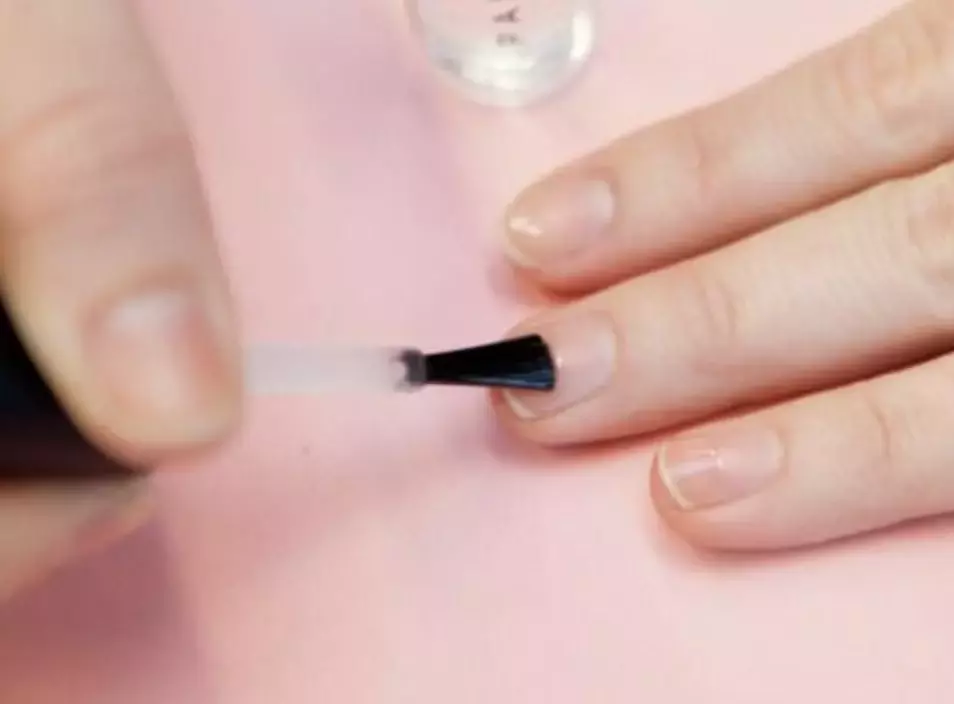
If you’re tired of chipped tips, this trick is a game-changer. Start with one coat of base polish on just the top half of your nails. Let it dry, then cover the entire nail with a second coat. This extra layer on the tips strengthens them, preventing chips and extending your manicure’s life.
Nail Polish Hack #3: Use White Nail Polish as a Base
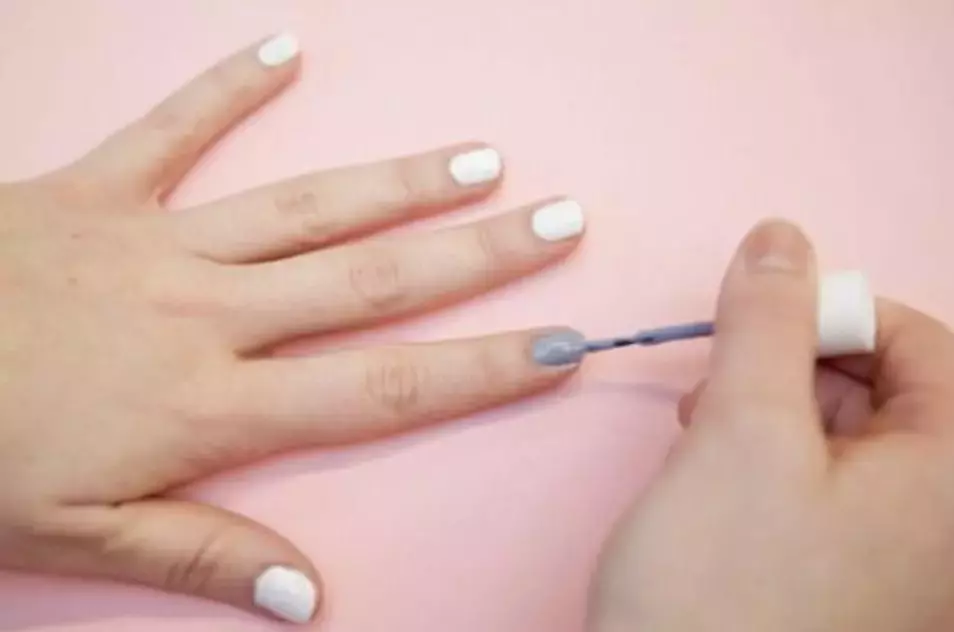
Ever notice your colored polish looking dull or not as vibrant as it should? Apply a layer of white polish as a base coat before your chosen shade. The white layer intensifies the color, making it pop while also helping sheer polishes appear more opaque.
Nail Polish Hack #4: Get Creative With Office Supplies for Nail Art
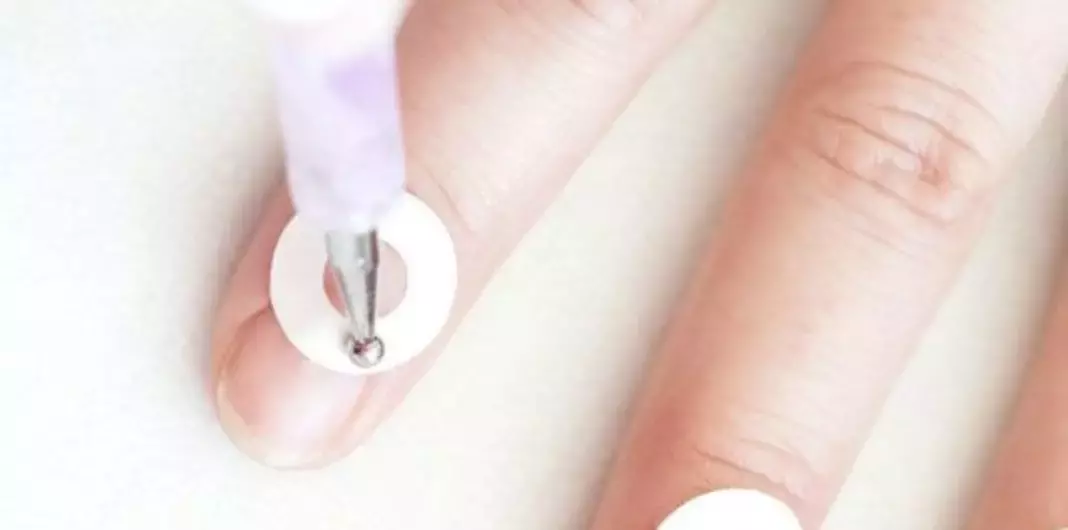
Don’t have fancy nail stencils? Grab some office supplies! Paper hole reinforcement stickers are perfect for creating half-moon designs. Stick them at the base of your nails, paint over them, and peel off once dry for a chic, salon-worthy look.
Nail Polish Hack #5: Sharp Lines With Clear Tape
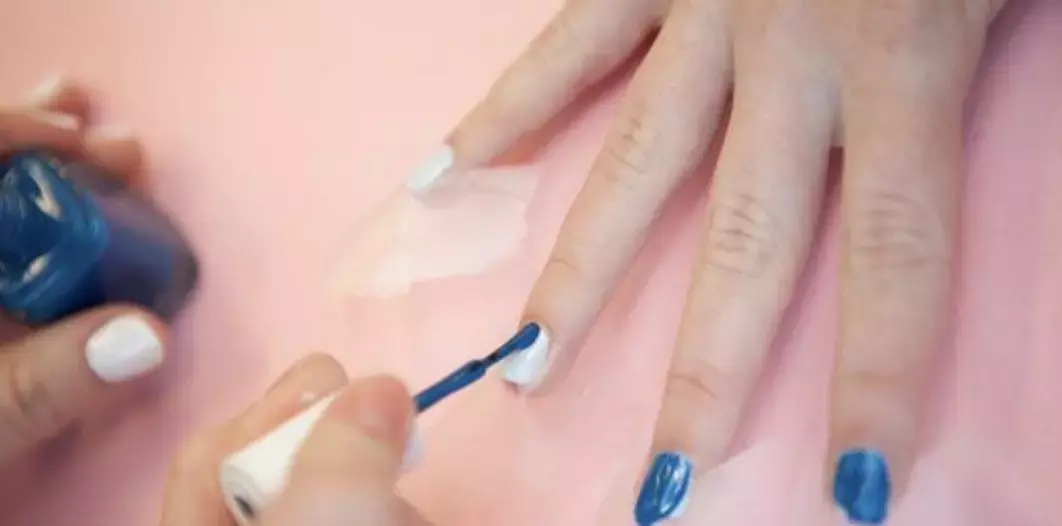
If you’re dreaming of crisp lines but don’t have striping tape, regular Scotch tape works wonders. Whether you’re going for geometric shapes or a negative-space design, stick the tape on your nails, paint over it, and peel it off once it dries slightly for sharp, defined edges.
Nail Polish Hack #6: Eyeliner for Placing Nail Art Accessories
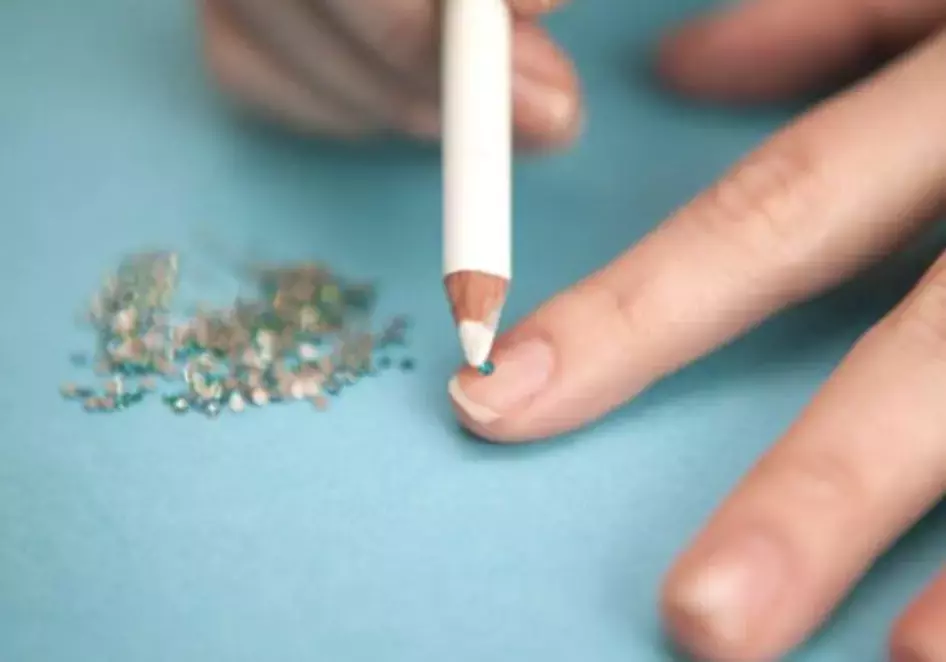
Struggling to place those tiny rhinestones? Use the pointed end of a pencil eyeliner as a precision tool. It’s sticky enough to grab small gems but won’t mess up your nail polish.
Nail Polish Hack #7: Easy French Tips Using a Rubber Band
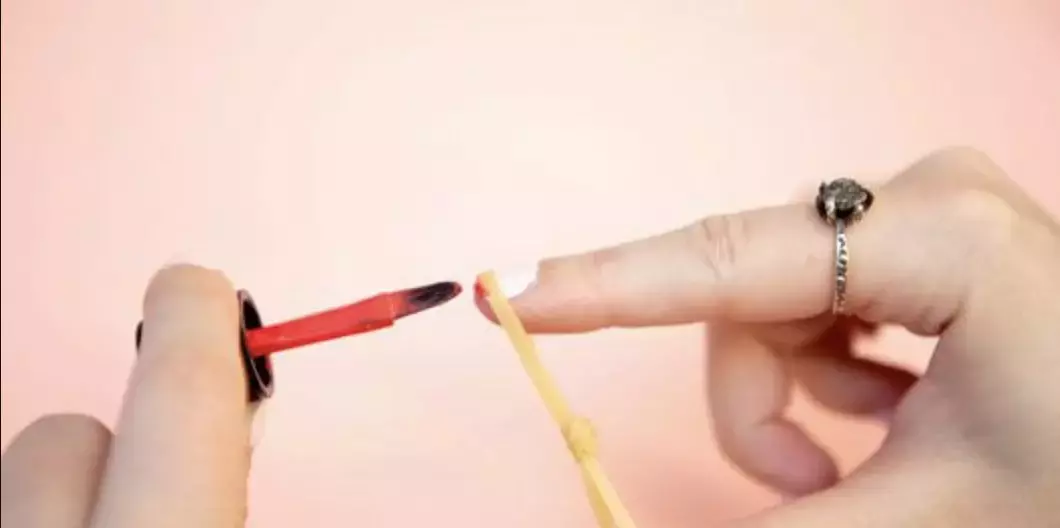
French manicures can be tricky without a steady hand. Simplify the process by tying a rubber band around your thumb, using the tension to guide the polish brush. Paint along the band for perfect tips, then remove it carefully to avoid smudges.
Nail Polish Hack #8: Make Your Own Custom Shades
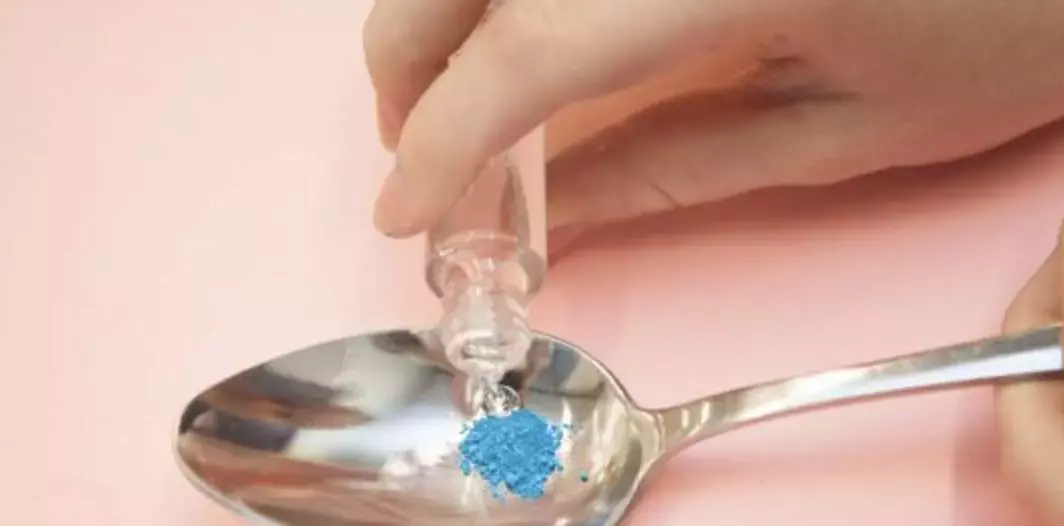
Bored of your current collection? Create your own custom color by mixing eyeshadow pigments with clear polish. Adjust the intensity by adding more pigment or clear polish for a one-of-a-kind shade.
Nail Polish Hack #9: DIY Marble Nails Using a Water Cup
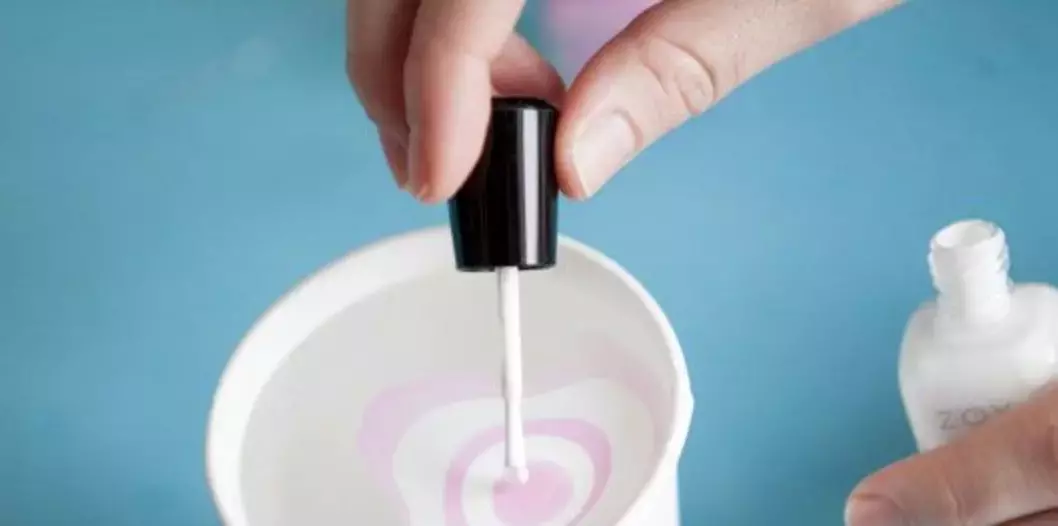
For an impressive marble effect, grab a small cup of water and a couple of nail colors. Drip alternating colors into the water, swirl with a toothpick, and dip your nail into the floating design. Remove any excess with tape and voilà—a unique marble design!
Nail Polish Hack #10: Speed Up Drying Time With Ice Water

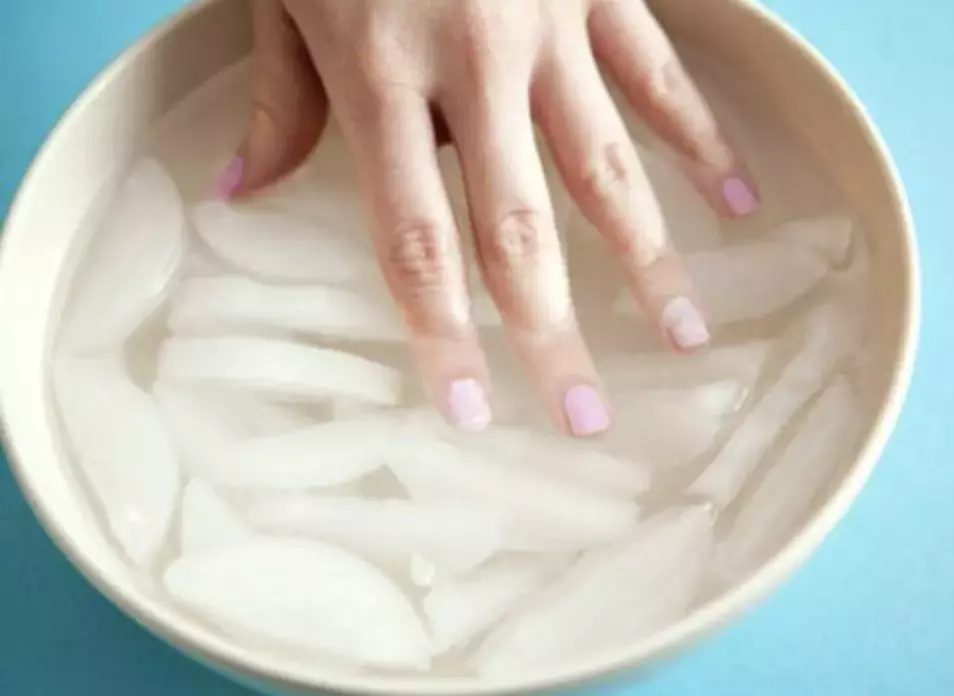
No more waiting forever for your nails to dry! After painting, dip your fingertips into a bowl of ice water for a few minutes. The cold temperature will set the polish faster, reducing the chance of smudges.
Nail Polish Hack #11: Nonstick Spray for Smudge-Free Nails
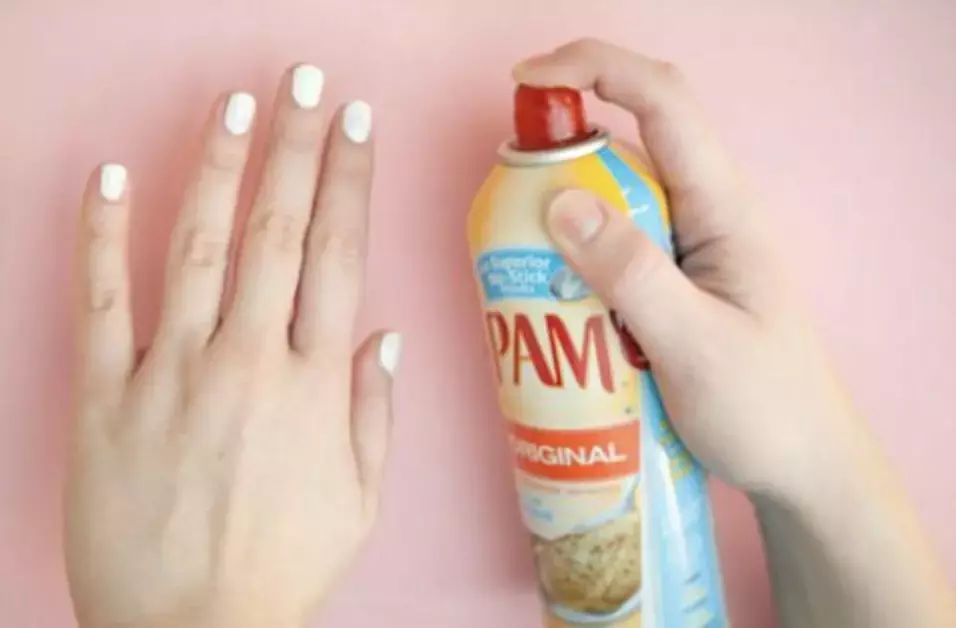
Prevent pesky smudges with a quick spritz of nonstick cooking spray after your final coat. It helps set the polish and adds a protective layer, minimizing dings and smears.
Nail Polish Hack #12: Effortlessly Remove Stubborn Polish With Foil
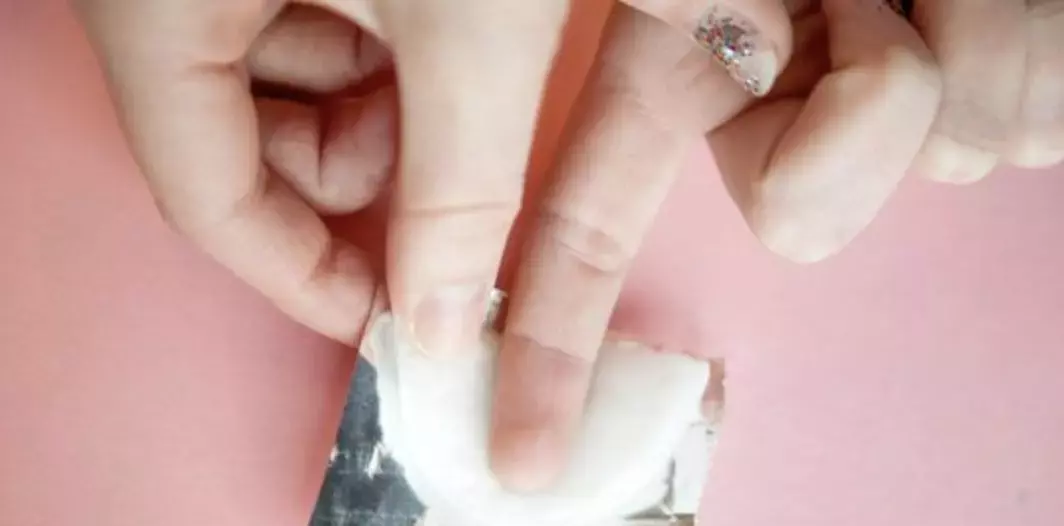
Removing glitter polish can be a nightmare, but not with this trick. Soak cotton pads in remover, place them on your nails, and wrap with aluminum foil. Leave for a few minutes, then slide the foil and cotton off for a flawless removal.
Nail Polish Hack #13: Roll, Don’t Shake, Your Polish
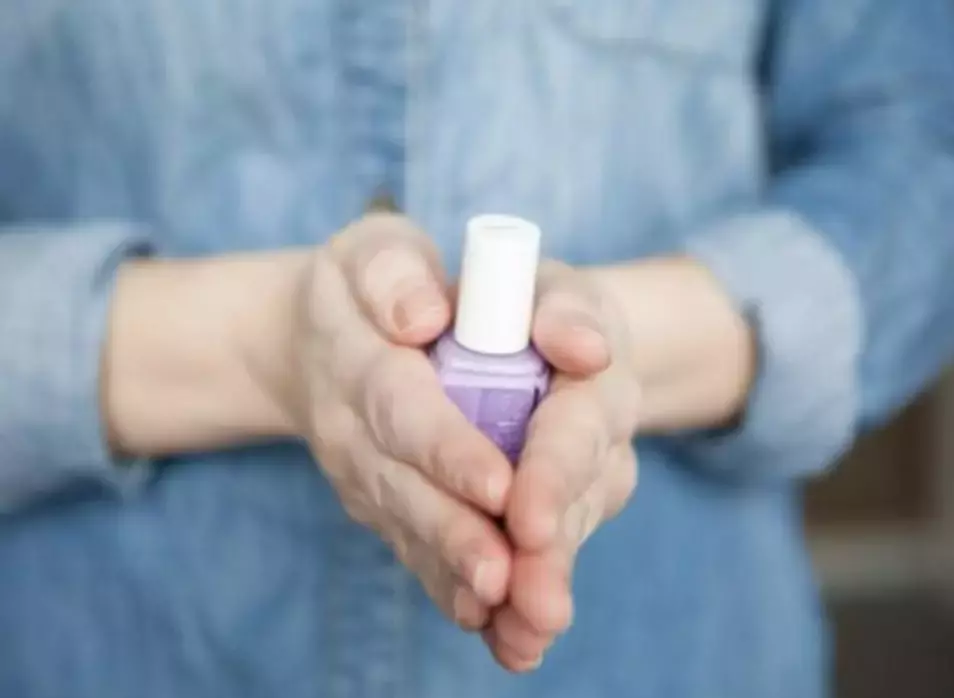
To avoid those annoying air bubbles in your polish, roll the bottle between your palms instead of shaking it. This prevents bubbles from forming and gives you a smoother application.
Nail Polish Hack #14: Use Hot Water to Open Stuck Bottles
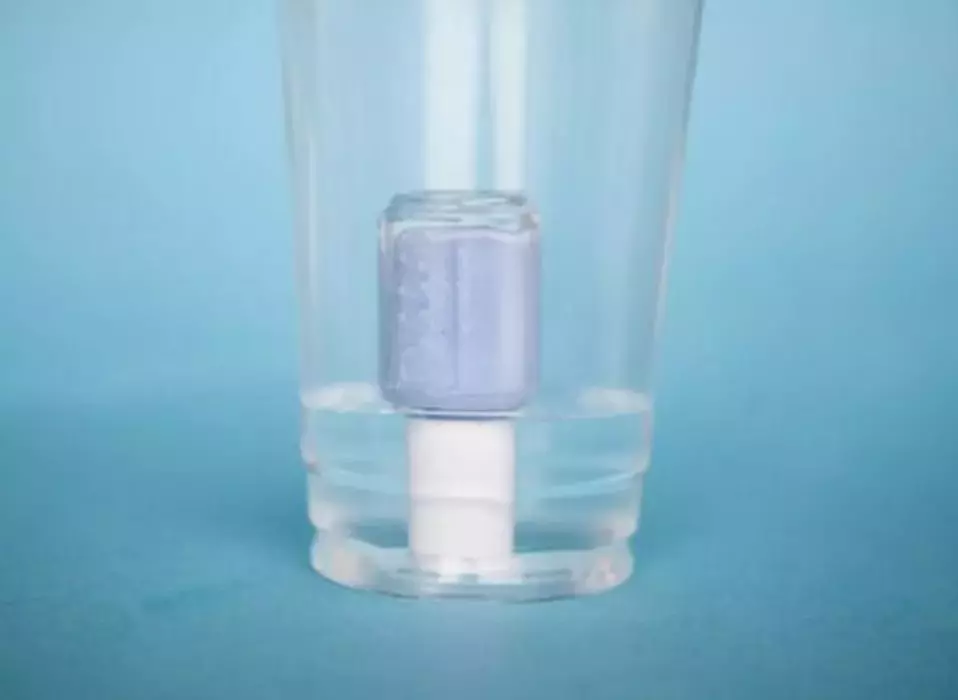
Stubborn nail polish lids? Fill a cup with hot water and submerge the lid (but not the bottle). The heat will loosen the seal, making it easier to twist off.
Nail Polish Hack #15: Rubber Band for a Better Grip
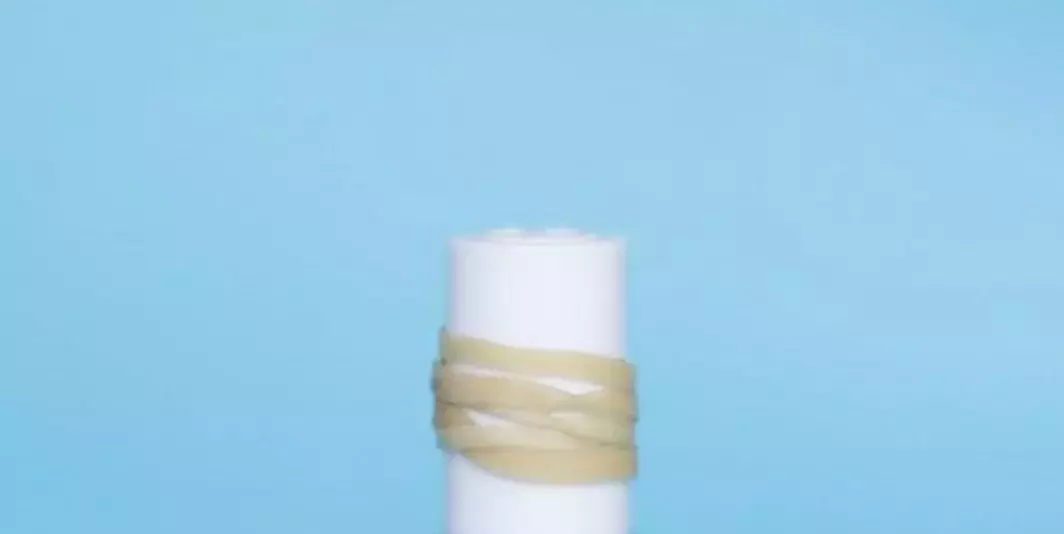
Need more control when painting your nails? Wrap a rubber band around the cap of your nail polish bottle for a non-slip grip.
Nail Polish Hack #16: Keep Your Bottles Clean With Petroleum Jelly
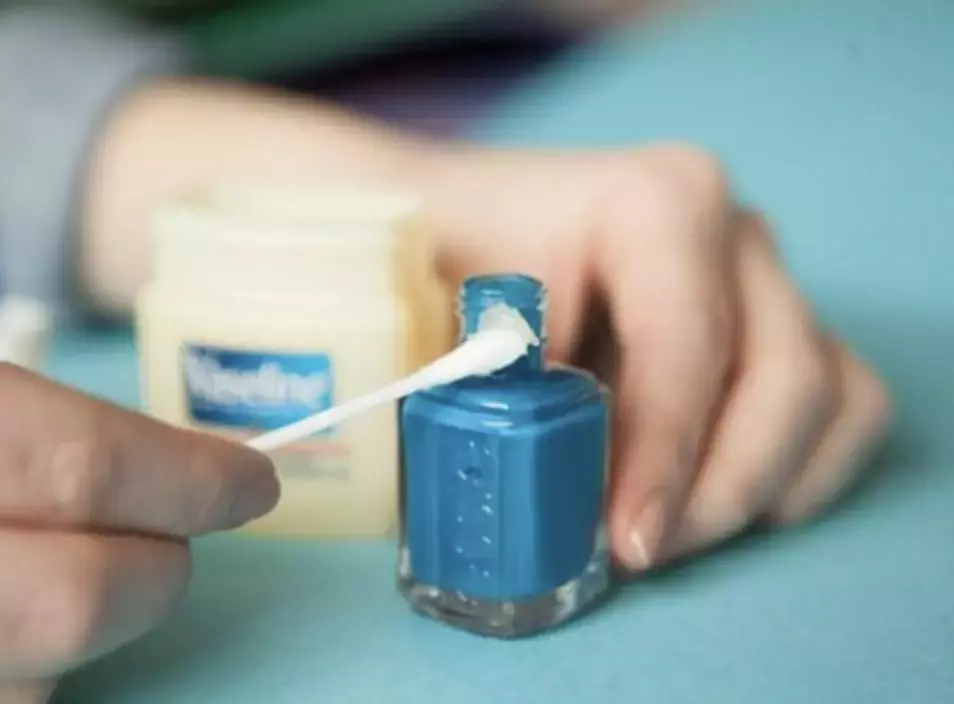
Before storing your nail polish, apply a bit of petroleum jelly around the bottle’s neck. This prevents the cap from drying shut, ensuring an easy opening next time.
Nail Polish Hack #17: Organize Your Polish Collection With Stickers
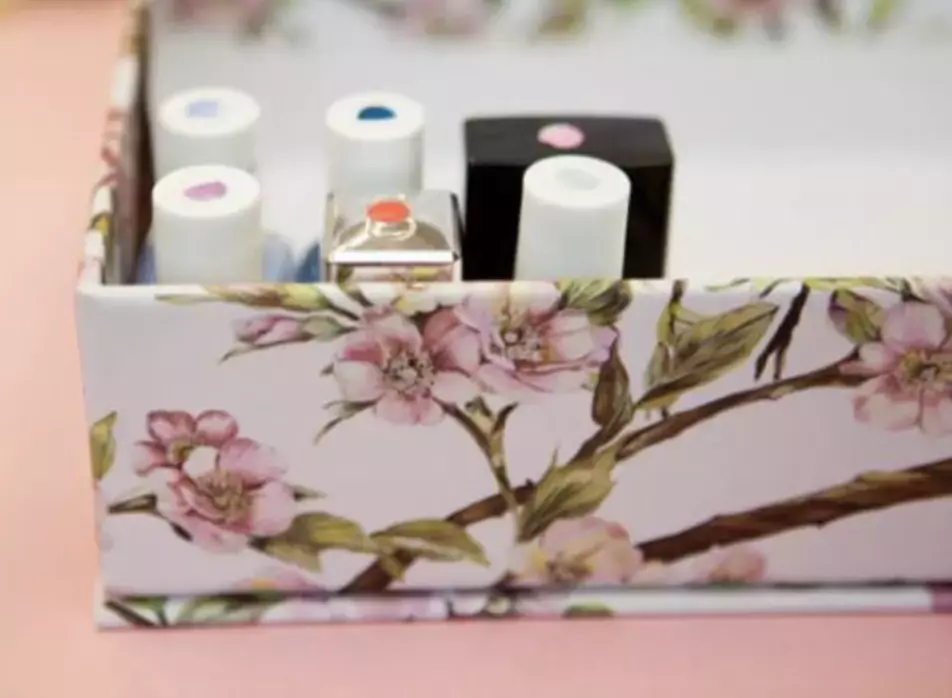
If your nail polish stash is out of control, use stickers to organize! Apply a swatch sticker on the bottle’s lid, so you can easily find the shade you want without rummaging through your entire collection.
FAQs
1. How can I make my nail polish last longer?
To extend the life of your manicure, start with a quality base coat, use a white polish underneath vibrant colors, and always finish with a durable top coat.
2. Can I dry my nails faster without using a fan?
Yes! Dipping your freshly painted nails in ice water for a few minutes speeds up the drying process without the need for any equipment.
3. How do I prevent air bubbles in my nail polish?
Avoid shaking the bottle before applying. Instead, roll it gently between your hands to mix the polish without introducing bubbles.
These hacks will have you flaunting a salon-quality manicure from the comfort of your own home. Time to gather your supplies and start experimenting!
